How to Cut a Low Fade Haircut: Professional Barber Techniques
Master the professional techniques for cutting perfect low fade haircuts with this complete step-by-step tutorial from expert barbers at DIDA NYC Hair Studio Queens.
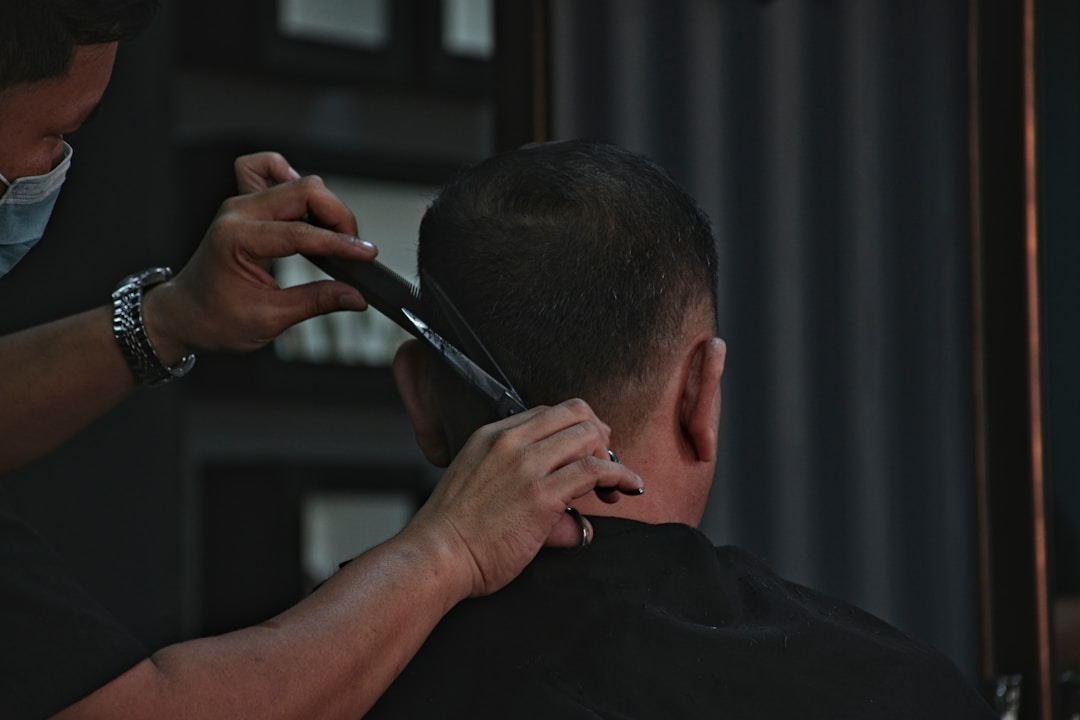
Expert barber demonstrating professional techniques for cutting a perfect low fade haircut
Learning how to cut a low fade haircut requires understanding professional barbering techniques, proper tool usage, and mastering the fundamental principles of graduated blending. This complete tutorial guides you through the complete process of executing a low fade haircut with professional-quality results.
At DIDA NYC Hair Studio in Queens, our master barbers have perfected these techniques through decades of practice. While professional training is essential for consistently excellent results, understanding the methodology helps both aspiring barbers and clients appreciate the skill required for superior low fade haircuts.
- • Consultation & Assessment: 5-10 minutes
- • Initial Fade Foundation: 10-15 minutes
- • Gradual Blending: 15-20 minutes
- • Scissor-Over-Comb Refinement: 10-15 minutes
- • Detail Work & Finishing: 5-10 minutes
- • Total Professional Time: 45-70 minutes
Essential Tools for Cutting Low Fade Haircuts
Before learning how to cut a low fade haircut, you must have professional-quality tools. The right equipment is important for achieving seamless blends and professional results.
Primary Cutting Tools
- Professional Clippers: Variable speed motor, powerful enough for all hair types (Wahl, Andis, Oster recommended)
- Complete Guard Set: #0.5 through #4 minimum, with half-size guards for optimal progression
- Professional Shears: 6.5-7 inch barber scissors, properly balanced and razor-sharp
- Barber Combs: Various teeth spacing for different techniques and hair textures
- Detail Trimmer: For precise edge work and fine detailing around ears and neckline
Support Tools & Products
- Spray Bottle: For keeping hair damp during cutting process
- Cape & Neck Strip: Professional protection for client comfort
- Clipper Oil: For maintaining blade performance throughout service
- Styling Products: To finish and showcase the completed fade
- Mirror Setup: Large primary mirror plus hand mirror for client views
Step 1: Consultation and Client Assessment
The foundation of cutting a low fade haircut begins with thorough consultation. This critical first step determines the success of the entire service and ensures client satisfaction.
Discussion Points to Cover
- Desired Style: Understand exactly what the client wants - show reference photos if available
- Fade Placement: Confirm starting point just above ears at temple level
- Lowest Length: Determine if fading to skin or stopping at a specific guard length
- Top Length & Style: How much length to keep on top and desired styling direction
- Lifestyle Considerations: Professional requirements, maintenance capabilities, styling time available
Hair Analysis and Assessment
- Hair Type: Identify straight, wavy, curly, or coily texture characteristics
- Density Patterns: Note thick and thin areas that affect blending approach
- Growth Patterns: Locate cowlicks, whorls, and directional changes
- Head Shape: Assess skull contours to plan fade placement and blending zones
- Previous Cuts: Evaluate existing haircut and any corrections needed
Step 2: Section and Prepare the Hair
Proper preparation creates the foundation for successful low fade haircut execution. Organized sectioning ensures systematic cutting and consistent results.
Sectioning Method
- Establish Fade Line: Identify starting point just above ears extending around head
- Separate Top Section: Clip away hair above fade line to prevent accidental cutting
- Mark Reference Points: Note symmetrical landmarks on both sides for balanced cutting
- Dampen Hair: Lightly spray to optimal dampness - not soaking wet
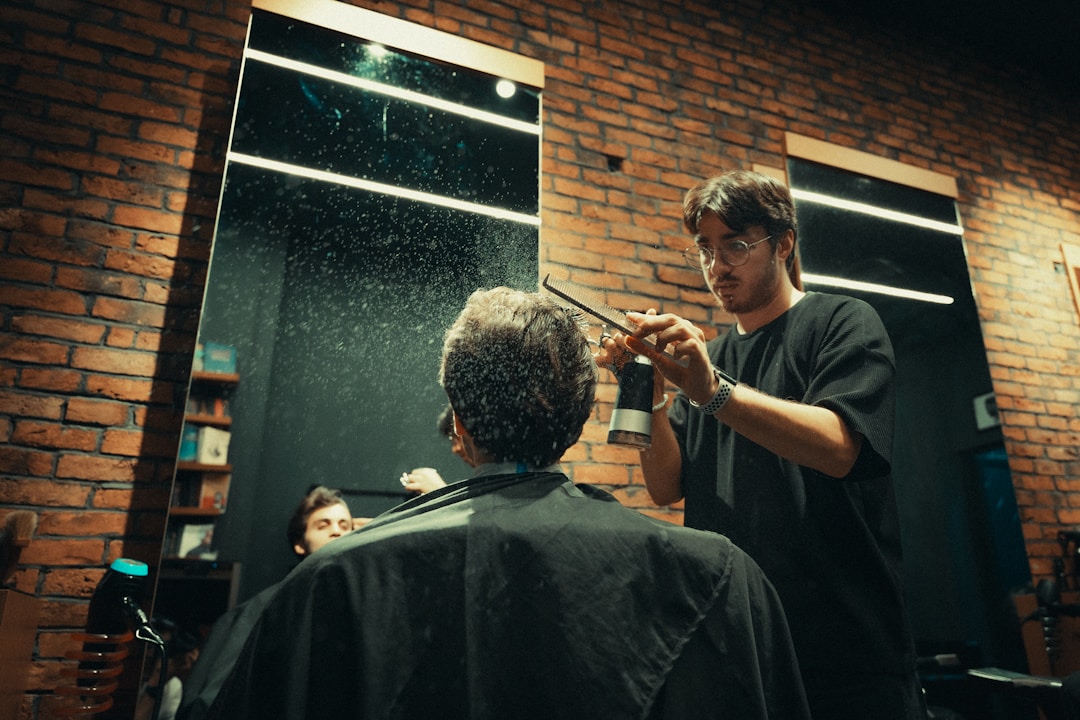
Professional clipper technique for creating seamless low fade transitions and graduated blending
Step 3: Establish the Fade Foundation
Creating the initial low fade outline establishes the framework for all subsequent blending work. This foundation determines the fade's placement, shape, and overall appearance.
Initial Guard Selection
Start with a guard length that matches the desired top section length or slightly shorter. For most low fades, begin with #2 or #3 guard depending on overall desired length:
- Conservative Low Fade: Start with #3 or #4 guard
- Standard Low Fade: Start with #2 or #3 guard
- Short Low Fade: Start with #1 or #2 guard
Creating the Fade Outline
- Establish Guideline: Cut horizontal line just above ears around entire head with starting guard
- Consistent Pressure: Maintain even clipper pressure for uniform length
- Check Symmetry: Verify both sides match perfectly before proceeding
- Define Upper Boundary: Create clear demarcation where fade begins
Step 4: Build Gradual Transition Zones
The heart of how to cut a low fade haircut lies in creating seamless transition zones through systematic guard progression. This step requires patience, precision, and proper technique.
Guard Progression Strategy
Professional low fades use mathematical guard progression for smooth transitions. Follow this sequence for optimal results:
Blending Technique for Each Zone
- Position Clippers: Start at bottom of current zone, clippers flat against head
- Lift Gradually: As you move upward, gradually increase clipper angle away from head
- Flicking Motion: Use quick flicking movements at blend points to soften transitions
- Multiple Passes: Make several passes through each zone, gradually refining blend
- Cross-Pattern Cutting: Approach from multiple angles for seamless integration
Step 5: Refine with Advanced Clipper Techniques
Professional low fade haircuts require advanced clipper manipulation beyond basic guard changes. These refinement techniques eliminate visible lines and perfect the graduated blend.
Lever Adjustment Method
The clipper lever (taper lever) provides micro-adjustments between guard lengths, essential for seamless blending:
- Closed Lever: Cuts shortest length for each guard
- Open Lever: Cuts slightly longer, creating intermediate lengths
- Progressive Opening: Gradually open lever as you move through transition zones
- Blend Perfection: Use lever positions to eliminate demarcation lines between guards
Freehand Fading Technique
For ultimate control in cutting low fade haircuts, master barbers use freehand techniques:
- No Guard Fading: Remove guard and use open/closed lever for finest control
- Gentle Pressure: Light touch prevents removing too much hair
- Flicking Motion: Quick outward movements create soft, natural transitions
- Multiple Angles: Approach from different directions for complete blending
Step 6: Scissor-Over-Comb Perfection
The professional difference in low fade haircuts comes from scissor-over-comb refinement. This hand-finishing technique creates natural, seamless transitions that clipper work alone cannot achieve.
Scissor-Over-Comb Method
- Comb Positioning: Insert comb at base of fade area, teeth pointing upward
- Lift Hair: Bring comb up through hair at desired cutting angle
- Scissor Placement: Position scissors parallel to comb, following its angle
- Cutting Motion: Make small, precise cuts as comb lifts through transition zones
- Blend Smoothly: Work through entire fade area, connecting all transition points
When to Use Scissor-Over-Comb
- Textured Hair: Essential for curly, wavy, or coily hair types
- Final Refinement: Last step after all clipper work completed
- Custom Lengths: Achieving lengths between guard sizes
- Natural Appearance: Creating lived-in, non-mechanical finish
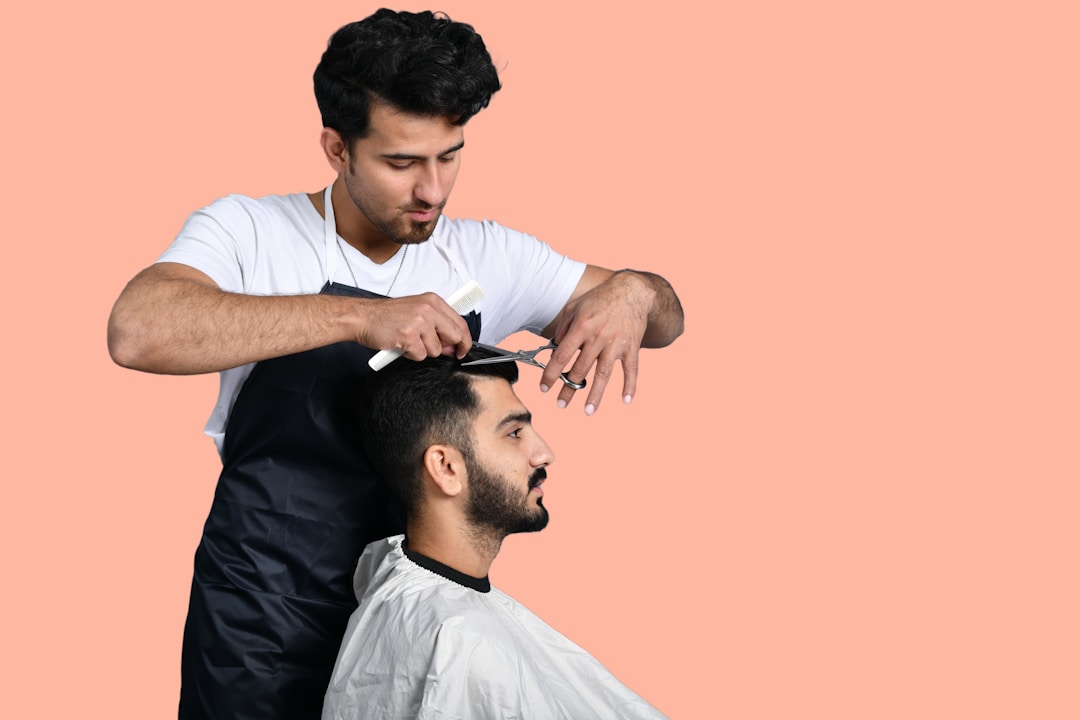
Expert detail work and final refinements ensuring perfect low fade haircut execution and clean edges
Step 7: Detail Work and Edge Definition
Professional low fade haircuts are defined by crisp, clean perimeter work. Detail finishing separates good fades from exceptional ones.
Neckline Shaping
- Tapered Neckline: Most professional option, gradually fading into neck
- Blocked Neckline: Straight horizontal line for classic appearance
- Rounded Neckline: Soft curve following natural hairline
- Detail Trimmer Work: Use precision trimmer for clean, defined edges
Sideburn and Ear Detail
- Sideburn Length: Ensure both sides perfectly symmetrical
- Ear Outline: Clean edges around ears without removing too much hair
- Temple Points: Define clean lines at temple area
- Final Inspection: Check all angles in mirror for missed spots
Step 8: Final Assessment and Quality Control
Before completing the low fade haircut, perform complete quality assessment to ensure professional standards are met.
Quality Checkpoints
- Symmetry Verification: Both sides perfectly balanced and matching
- Blend Smoothness: No visible lines or harsh transitions
- Edge Cleanliness: Crisp, professional perimeter work
- Natural Appearance: Fade looks seamless and uncontrived
- Client Approval: Show client all angles and confirm satisfaction
Common Mistakes When Cutting Low Fades
Understanding common errors helps avoid pitfalls when learning how to cut a low fade haircut:
Technical Mistakes
- Starting Too High: Placing fade above proper low position ruins the style
- Rushing Guard Progression: Skipping intermediate guards creates visible lines
- Inconsistent Pressure: Uneven clipper pressure causes patchy appearance
- Neglecting Symmetry: Failing to check both sides creates lopsided result
- Over-Cutting: Removing too much hair makes corrections impossible
How to Correct Common Issues
- Visible Lines: Use intermediate guards and lever adjustments to blend
- Asymmetry: Carefully trim longer side to match shorter side
- Patchy Spots: Fill in with appropriate guard using light, careful passes
- Too Much Removed: Adjust overall length to match shortest areas
Professional Training and Development
While this tutorial covers how to cut a low fade haircut, true mastery requires professional training, practice, and mentorship. Consider these development paths:
- Barber School: Formal education providing foundational techniques and certification
- Apprenticeship: Learning under experienced master barbers
- Continuing Education: Advanced workshops and specialized training
- Practice Models: Extensive hands-on experience with diverse hair types
- Peer Review: Feedback from experienced professionals
Frequently Asked Questions
Mastering how to cut a low fade haircut requires dedicated training, quality tools, and extensive practice. While this tutorial provides complete technical knowledge, professional results come from hands-on experience under expert guidance.
For perfect low fade haircuts executed with master-level experience, visit DIDA NYC Hair Studio in Queens. Our professional barbers combine decades of experience with cutting-edge techniques, delivering exceptional results for all hair types and textures. Serving Queens including Rego Park, Forest Hills, Elmhurst, and surrounding neighborhoods.
For more low fade resources, see our complete Low Fade Haircut Complete Authority Guide.
Get Your Professional Low Fade Haircut
Experience the difference that master-level experience makes. Book your expert low fade haircut at DIDA NYC Hair Studio today.