
How to Ask for Low Fade Haircut: Complete Communication Guide
Master the art of requesting a perfect low fade with precise terminology, effective consultation strategies, and expert communication techniques from Queens NYC professional barbers.
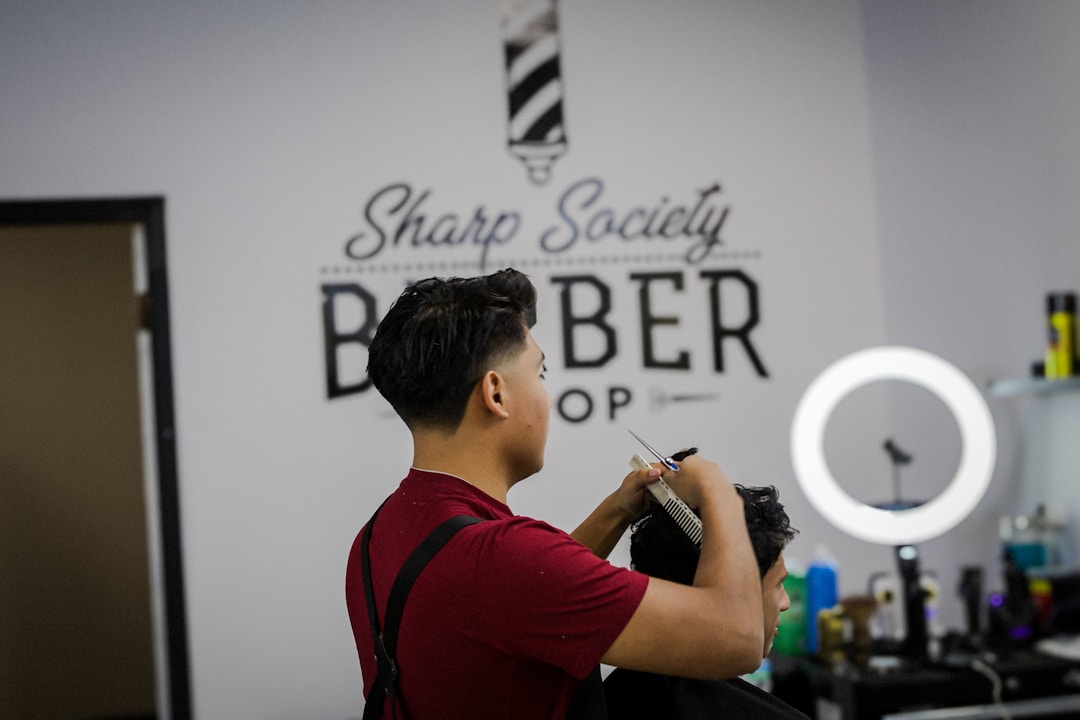
Getting the perfect low fade haircut starts long before clippers touch your head - it begins with clear, effective communication during your consultation. At DIDA NYC Hair Studio Queens, we've witnessed countless clients transform their haircut experiences simply by learning how to articulate exactly what they want.
The difference between leaving the barbershop thrilled or disappointed often comes down to a single factor: how well you communicated your vision. Many clients assume "low fade" is sufficient instruction, but this vague request can produce dramatically different results depending on interpretation.
This complete guide teaches you the precise language, visual strategies, and consultation techniques professional barbers respond to best. Whether you're getting your first low fade or refining your communication for better results, these expert-backed methods ensure you walk out with exactly the haircut you envisioned.
Understanding What You Want Before the Consultation
Clarify Your Low Fade Vision
Before entering the barbershop, answer these essential questions:
1. Fade Placement (Starting Point):
- • Very Low: Starts right at ear level (0.25-0.5 inches above ear top)
- • Standard Low: Starts 0.75-1 inch above ear top (most common)
- • Low-Medium: Starts 1.25-1.5 inches above ear top (higher placement)
2. Fade Gradient (Transition Style):
- • Skin Fade: Blends down to bare skin (#0 blade)
- • Shadow Fade: Blends to #0.5 or #1 guard (subtle shadow, not skin)
- • Bald Fade: Razor-finished to completely smooth skin
3. Blend Sharpness:
- • Gradual/Soft Blend: Smooth transition over 2-3 inches (subtle, natural)
- • Medium Blend: Noticeable transition over 1.5-2 inches (balanced)
- • Tight/Sharp Blend: Dramatic transition over 1 inch (bold, defined)
4. Top Length and Style:
- • Short top (0.5-1.5 inches): Buzz cut, crew cut variations
- • Medium top (1.5-3 inches): Textured crop, side part, slicked-back
- • Long top (3-6+ inches): Pompadour, quiff, disconnected styles
5. Neckline Preference:
- • Blocked: Straight horizontal line (sharp, clean)
- • Tapered: Gradual fade into neck (natural, softer)
- • Rounded: Curved shape following head contour
Pro Tip from DIDA Barbers: Write down your preferences before the appointment. Having your specifications clearly defined prevents "on-the-spot" decisions that you might regret later. Most clients who are disappointed with their low fade simply hadn't clarified what "low fade" meant to them versus what it meant to their barber.
Using Precise Barbering Terminology
Professional barbers respond best to specific language. Here's how to articulate exactly what you want:
The Perfect Low Fade Request (Template)
Template Structure:
"I want a [placement] low fade starting [location], with a [gradient type] blended [blend style] into the top. Keep the top [length] for [style]. [Neckline preference] neckline."
Example Requests:
- • "I want a standard low fade starting about 1 inch above my ear, with a skin fade blended gradually into the top. Keep the top 2-3 inches for a textured crop style. Tapered neckline."
- • "I want a very low fade starting right at ear level, with a shadow fade to #1 blended with medium sharpness into the top. Keep the top 4-5 inches for a pompadour. Blocked neckline."
Essential Guard Numbers
- • #0 / Skin: Completely bare (skin fade)
- • #0.5: Very short shadow (1/16 inch)
- • #1: Short shadow (1/8 inch)
- • #1.5: Subtle shadow (3/16 inch)
- • #2: Common fade line start (1/4 inch)
- • #3: Higher blend point (3/8 inch)
- • #4: Top of fade zone (1/2 inch)
Saying "start with #0.5, blend to #2 at fade line, then #3 and #4 into the top" gives precise gradient instructions.
Key Descriptive Terms
- • "Drop fade": Fade curves down behind ear
- • "Straight fade": Fade line follows horizontal plane
- • "Tight fade": Sharp, defined transition
- • "Burst fade": Fade radiates around ear (not typical for low fade)
- • "Disconnected": No blend between top and sides (sharp line)
- • "Connected/Blended": Smooth gradient from sides to top
- • "Surgical line": Shaved line detail in fade
The Power of Reference Photos
Reference photos eliminate 90% of miscommunication. Here's how to use them effectively:
Choosing the Right Reference Photos
Photo 1: Side View
- • Shows exact fade placement
- • Demonstrates blend gradient
- • Reveals fade line curve
- • Shows top-to-side ratio
Most important reference
Photo 2: Front View
- • Shows overall shape
- • Demonstrates front hairline work
- • Reveals top styling
- • Shows face framing
Context and proportion
Photo 3: Back View
- • Shows neckline style
- • Demonstrates back fade shape
- • Reveals taper method
- • Shows overall back silhouette
Neckline and back detail
Reference Photo Best Practices
✓DO:
- • Choose photos of similar hair texture to yours
- • Select people with comparable face shapes
- • Use clear, well-lit, recent photos
- • Save photos to phone for easy viewing
- • Bring 2-3 photos showing different angles
- • Select photos of hair at similar length
- • Point out specific elements you like
✗DON'T:
- • Show curly hair photos when you have straight hair
- • Bring photos of heavily styled/product-loaded hair
- • Use filtered or heavily edited images
- • Show photos from drastically different hair lengths
- • Bring 10+ photos (too many choices confuses)
- • Show photos requiring unrealistic hair density
- • Expect identical results from different hair types
What to Say When Showing Photos: Don't just hand your phone over silently. Say: "This shows the fade placement I want [point to side], but I'd like the top styled more like this [show second photo]. My hair texture is different, so what adjustments would you recommend?" This engages your barber as a collaborator rather than just an executor.
Common Communication Mistakes to Avoid
Mistake #1: Being Too Vague
What clients say: "Just give me a low fade."
Why it fails: "Low fade" doesn't specify placement, gradient, blend style, top length, or neckline - leaving everything to interpretation.
Better approach: "I want a low fade starting 1 inch above my ear, skin fade blended gradually, keep 2 inches on top for texture, tapered neckline."
Mistake #2: Not Discussing Styling Ability
What clients forget: To mention they don't style their hair daily.
Why it fails: They end up with a haircut requiring 15 minutes of blow-drying and product work they won't actually do.
Better approach: "I need a low-maintenance version. I usually just towel-dry and go - what top length/style works best with that routine?"
Mistake #3: Ignoring Hair Texture Reality
What clients do: Show photos of styles incompatible with their hair type.
Why it fails: Thick curly hair can't achieve the same fade sharpness as thin straight hair; fine hair can't replicate dense hair volume.
Better approach: "My hair is [texture/density]. Can we achieve this look, or what's the closest version that works with my hair?"
Mistake #4: Assuming Your Barber Knows Your History
What clients say: "Same as last time" (to a new barber or after months away).
Why it fails: New barbers have no record; even regular barbers may not recall exact specifications after time.
Better approach: Always re-explain your preferences, even to familiar barbers. Say: "Last time we did [specifications] - let's do that again, but maybe [one adjustment]."
Mistake #5: Not Speaking Up During the Cut
What clients do: Stay silent when they notice the fade starting higher than discussed.
Why it fails: Once hair is cut, it can't be reattached. Early intervention prevents major corrections.
Better approach: Politely speak up immediately: "I wanted the fade to start lower - can we adjust before going further?" Professional barbers appreciate early feedback.
Discussing Face Shape and Hair Texture
Professional barbers customize low fade placement based on your individual characteristics. Here's how to discuss these factors:
Face Shape Considerations
Round Face:
Say: "I have a round face. Would you recommend starting the fade slightly higher to add visual length?"
Professional adjustment: Barber may suggest low-medium fade placement (1-1.5 inches above ear) with added height on top.
Square Face:
Say: "I want to soften my angular jawline. Should we keep the fade very low and the top textured rather than slicked?"
Professional adjustment: Very low fade (0.5-0.75 inches) with softer, textured top styling balances strong jaw.
Oval Face:
Say: "My face shape is pretty balanced. I'm open to your recommendation on fade placement."
Professional adjustment: Oval faces suit any low fade placement (0.5-1.5 inches) - choose based on style preference.
Long/Oblong Face:
Say: "I want to avoid adding too much height. Should the fade start lower with less volume on top?"
Professional adjustment: Standard to very low fade with moderate top length (1.5-3 inches) prevents over-lengthening.
Hair Texture Communication
Straight Hair:
Say: "My hair is straight and [thick/medium/fine]. It tends to [lie flat/stick up/fall forward]. What fade gradient works best?"
Barber consideration: Straight hair shows fade lines sharply - gradual blends often look best. Fine straight hair may need slightly higher fade placement for proportion.
Wavy Hair:
Say: "I have wavy texture that gets frizzy if too short. How low can we fade before hitting the frizz zone?"
Barber consideration: Waves often frizz when cut below 1/4 inch - shadow fade to #2 or #3 may work better than skin fade.
Curly/Coily Hair:
Say: "My curls are [loose/tight/kinky]. I want the fade to improve the curl pattern on top without creating bulk on sides."
Barber consideration: Tight curls require extremely gradual blending (tight fades can look choppy). Often need skin or very low shadow fade for clean contrast.
Thick/Dense Hair:
Say: "My hair is very thick. Should we use a tighter fade to reduce bulkiness on the sides?"
Barber consideration: Thick hair benefits from sharper fade transitions and slightly higher placement to prevent "mushroom" effect.
Fine/Thin Hair:
Say: "My hair is fine and tends to look sparse. How can we make the low fade look fuller?"
Barber consideration: Shadow fades (not skin) create subtle contrast that makes fine hair appear denser. Slightly lower placement adds proportion.
Professional Consultation Etiquette
Best Practices
- ✓Arrive on time for your appointment - rushed consultations lead to miscommunication
- ✓Come with clean, dry hair (unless told otherwise) so your barber sees natural texture
- ✓Remove hats/headphones immediately for consultation - don't make your barber ask
- ✓Have reference photos ready before sitting down - don't search during the cut
- ✓Ask questions during consultation, not mid-fade when barber is concentrating
- ✓Trust professional recommendations when your barber suggests adjustments for your hair
- ✓Speak up politely if something doesn't match your discussion - earlier is better
- ✓Take notes or photos of your finished cut so you can replicate the request next time
Things to Avoid
- ✗Don't micromanage every clipper pass - trust the process between checkpoints
- ✗Don't use your phone during the haircut - moving your head disrupts precision
- ✗Don't expect mind-reading - "You know what I like" assumes too much
- ✗Don't ignore budget concerns - ask about pricing before committing to complex requests
- ✗Don't skip the neckline discussion - it's 30% of your haircut's visual impact
- ✗Don't request major changes mid-cut - "Actually, make it a mid fade instead" wastes work
- ✗Don't skip regular maintenance then expect perfect recreations after 3 months
- ✗Don't forget to tip - good communication deserves acknowledgment
Setting Realistic Expectations
Clear communication includes understanding what's achievable with your specific hair:
Important Reality Checks
Your Hair Texture Determines Fade Sharpness
Fine, straight hair achieves sharper fade lines than thick, curly hair. If you have coarse texture, ask for "the sharpest fade possible with my hair type" rather than expecting razor-sharp results.
Growth Patterns Affect Fade Symmetry
Cowlicks, whorls, and uneven growth mean your fade may not look perfectly symmetrical. Communicate: "I have a strong cowlick on the right - how do we work with that?"
Styling Ability Determines Style Complexity
If you're a "wash and go" person, don't request styles requiring blow-drying, product work, and 15 minutes of styling. Be honest: "I want a low-maintenance version that looks good air-dried."
Fresh Cuts Look Different Than Day 10
Your low fade looks sharpest days 1-5, then gradually softens. If you love the fresh look, maintenance every 2 weeks is essential. Say: "I want this to look sharp for [event] - when should I schedule?"
Professional Cuts Take Time
A quality low fade with proper blending takes 30-45 minutes. If your barber rushes through in 15 minutes, you won't get precision results. Budget adequate time for your appointment.
DIDA NYC Expert Advice: The best client-barber relationships are built on trust and honesty. If your barber recommends adjustments to your request, ask "why?" to understand the reasoning. Most recommendations are based on technical factors (hair texture, growth patterns, face shape) that will improve your results. Professional barbers want you to leave happy - trust that their adjustments serve your best interest.
Frequently Asked Questions
Related Low Fade Resources
Complete Low Fade Authority Guide
Master all aspects of the low fade haircut with our complete authority resource.
Low Fade Styles Gallery
Explore 10+ low fade variations with visual examples and styling guides.
Low Fade Transformations
View stunning before and after results from DIDA NYC Hair Studio Queens.
How to Cut Low Fade
Learn professional low fade cutting techniques from master barbers.
Ready for Your Perfect Low Fade?
Now that you know exactly how to communicate your vision, book with DIDA NYC Hair Studio Queens for expert low fade haircuts executed with precision and professionalism.
DIDA NYC Hair Studio | Expert Low Fade Haircuts in Queens, NYC