How to Style Low Fade Haircut Daily: Complete Routine Guide
Master effortless daily low fade styling with step-by-step routines, professional product recommendations, and time-saving techniques from Queens NYC expert barbers.
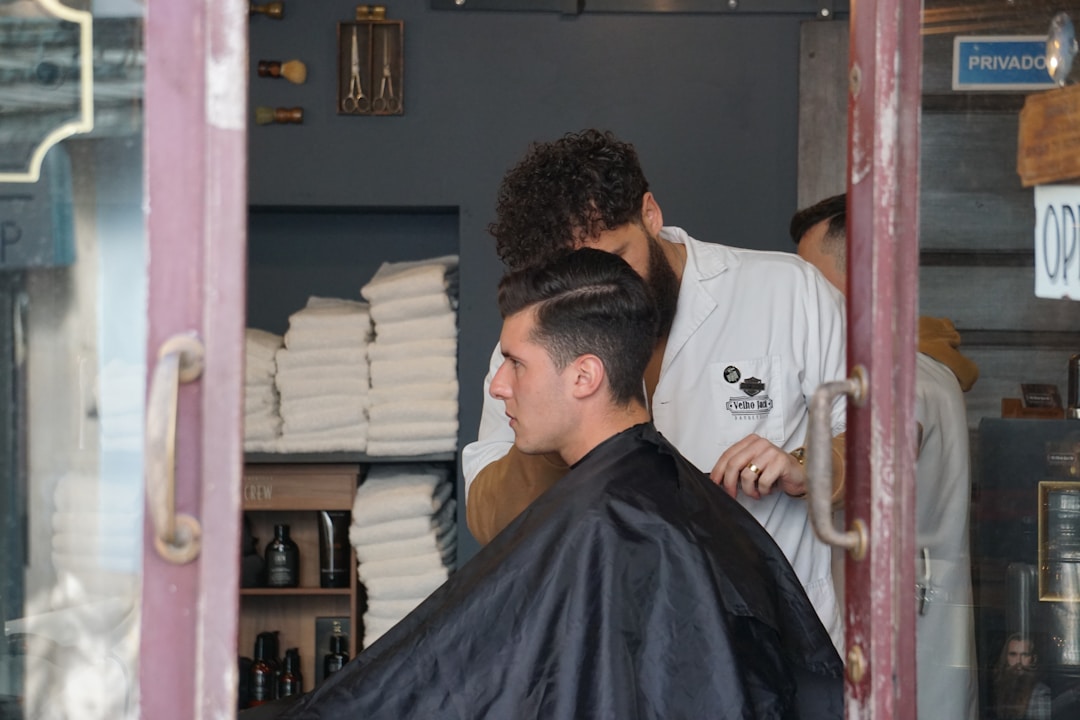
A fresh low fade from DIDA NYC Hair Studio Queens looks incredible when you walk out of the barbershop - but maintaining that sharp, polished appearance daily requires the right styling routine, products, and techniques.
Most men struggle with low fade styling not because it's difficult, but because they haven't established an efficient, repeatable system. Some over-complicate with too many products; others use the wrong techniques for their hair texture and end up frustrated when their style doesn't hold or looks flat by midday.
This complete guide teaches you exactly how to style your low fade haircut every day - from wake-up to walk-out-the-door - with routines customized for different style types, time constraints, and hair textures. Whether you have 3 minutes or 15, straight hair or curly, you'll master the professional techniques that keep your low fade looking barbershop-fresh between cuts.
Essential Products for Daily Low Fade Styling
Before diving into routines, understand which products you actually need (most men use too many):
The Core 3 Products
1. Pre-Styler (Volume/Heat Protection)
Purpose: Adds volume, provides heat protection for blow-drying, creates texture foundation
Options: Sea salt spray (textured, beachy), volumizing mousse (smooth volume), heat protectant spray (straightening/smoothing)
2. Main Styling Product (Hold/Finish)
Purpose: Creates style, provides hold throughout day, determines shine level
Options: Matte clay (textured, no shine), pomade (classic, shine), fiber/cream (natural, flexible)
3. Finishing Product (Optional Lock-In)
Purpose: Sets style, adds extra hold for all-day durability, controls flyaways
Options: Light-hold hairspray (flexible finish), strong-hold spray (maximum durability), texture spray (additional grit)
Product Selection by Style
Textured/Messy Styles:
- • Pre-styler: Sea salt spray
- • Main product: Matte clay (medium hold)
- • Finish: Light texture spray (optional)
Classic/Slicked Styles:
- • Pre-styler: Heat protectant
- • Main product: Medium pomade
- • Finish: Light hairspray
Pompadour/Volume Styles:
- • Pre-styler: Volumizing mousse
- • Main product: Strong pomade or clay
- • Finish: Strong-hold hairspray
Natural/Low-Maintenance:
- • Pre-styler: None (air-dry)
- • Main product: Light fiber/cream
- • Finish: None
DIDA Pro Tip: You don't need expensive products - focus on getting the RIGHT product type for your style. A $15 matte clay from a drugstore performs identically to a $40 salon clay if the formulation matches your needs. Invest in quality blow-dryers and brushes instead; tools matter more than product price.
Daily Styling Routines by Time Available
Quick Refresh Routine
Best for: Short textured crops, casual messy styles, day 2-3 hair
Dampen Hair (30 seconds)
Wet hands under sink, run through hair to lightly dampen (don't soak). Focus on top section where styling happens; fade stays neat without water.
Apply Product (60 seconds)
Dime-sized amount of matte clay or fiber. Warm between palms, rake fingers through hair front to back, tousle and shape with hands. No tools needed.
Final Shape (90 seconds)
Use fingers to create separation and texture. Push hair in desired direction (forward, up, side). Quick mirror check. Done.
Polished Daily Routine
Best for: Side parts, slicked styles, professional looks, fresh-washed hair
Towel-Dry After Shower (60 seconds)
Pat dry to 70-80% dampness - hair should be damp but not dripping. Over-drying makes styling harder; too wet dilutes products.
Apply Pre-Styler (45 seconds)
2-3 pumps heat protectant or volumizing mousse. Distribute evenly through damp hair with fingers or wide-tooth comb.
Blow-Dry with Direction (3 minutes)
Use medium heat, brush or comb to direct hair into style. For volume: lift at roots, dry against natural fall direction. For sleekness: dry in final style direction. Dry to 95% (slight dampness helps product spread).
Apply Styling Product (90 seconds)
Nickel-sized amount pomade or clay. Rub between palms thoroughly, apply evenly through hair, comb or brush into place for polish, or finger-style for texture.
Refine and Lock (90 seconds)
Check profile in mirror, adjust part line or height, optional light hairspray (8-10 inches away, quick mist), final shape touch-up.
Maximum Volume Routine
Best for: Pompadours, high-volume quiffs, special occasions, photo-ready looks
Post-Shower Prep (90 seconds)
Towel-dry to 70% dampness. Apply volumizing mousse generously through roots and mid-lengths. Rough-dry for 60 seconds to activate mousse.
Strategic Blow-Drying (6 minutes)
Roots (3 min): Lift hair with round brush, direct airflow from roots upward, dry in opposite direction of final style for maximum lift. Lengths (3 min): Switch to final direction, smooth and shape, finish with cool shot to set.
First Product Layer (2 minutes)
Apply pre-styler or light pomade through lengths for foundation. Brush or comb into rough shape of final style. This layer provides structure; next layer provides hold.
Sculpting and Shaping (3 minutes)
Second product application: strong-hold pomade or clay. Work section by section from front to back. Use comb for precision, hands for volume. Build height gradually - don't force it all at once.
Finishing and Locking (2.5 minutes)
Check all angles (front, side, back profile). Refine part lines and edges. Apply strong-hold hairspray in sweeping motions 10-12 inches away. Let set for 30 seconds before touching.
Time Management Reality Check: These routines assume you've practiced the techniques. Your first week will take 2-3x longer. By week 3-4, muscle memory kicks in and you'll hit these time targets consistently. Most DIDA clients find their sweet spot at 5-7 minutes daily once techniques become automatic.
Styling Techniques by Hair Type
Straight Hair Styling
Challenges:
- • Falls flat easily - lacks natural volume
- • Shows product buildup clearly
- • Can look greasy with too much product
- • Doesn't hold texture naturally
Solutions:
- • Always blow-dry against natural fall for volume
- • Use matte products (shine accentuates flatness)
- • Start with half the product you think you need
- • Apply sea salt spray pre-styling for grit/texture
- • Wash less frequently (natural oils add texture)
Pro Technique: After blow-drying straight hair, blast with cool air for 30 seconds while hair is in final position. This "sets" the style at cellular level, adding 2-3 hours of hold before product even touches your hair.
Wavy Hair Styling
Challenges:
- • Frizzes when too short or over-dried
- • Wave pattern inconsistent day-to-day
- • Difficult to achieve sleek, smooth styles
- • Loses definition throughout the day
Solutions:
- • Embrace natural wave - don't fight it
- • Apply products to damp hair for wave enhancement
- • Use cream-based products (avoid alcohol-heavy gels)
- • Air-dry or diffuse-dry (not direct high heat)
- • Scrunch while drying to encourage wave formation
Pro Technique: For wavy low fades, the "wet scrunch" method works best: apply styling product to soaking wet hair, scrunch upward repeatedly to form clumps, then let air-dry 80% before gently diffusing. This preserves wave pattern without frizz.
Curly/Coily Hair Styling
Challenges:
- • Shrinks significantly when dry
- • Requires moisture to avoid brittleness
- • Frizzes easily in humidity
- • Difficult to achieve uniform curl definition
Solutions:
- • Use leave-in conditioner as base layer
- • Apply curl cream to soaking wet hair
- • Finger-coil or rake through for definition
- • Diffuse dry on low heat OR air-dry completely
- • SOTC (scrunch out the crunch) when 100% dry
- • Refresh day 2-3 with water spray + product
Pro Technique: The "LOC method" for curly low fades: Leave-in conditioner (moisture), Oil (seal), Cream/gel (hold). Layer products in this order on soaking wet hair, scrunch upward, then dry. This creates long-lasting curl definition without crunch or frizz.
Thick/Dense Hair Styling
Challenges:
- • Takes longer to dry (10-15 minutes)
- • Requires more product (costs add up)
- • Can look bulky or "mushroom-like"
- • Holds styles well but hard to restyle mid-day
Solutions:
- • Use strong-hold products (thick hair overpowers weak products)
- • Blow-dry in sections for faster, more thorough drying
- • Consider texturizing/thinning at barber to reduce bulk
- • Apply product in layers (2-3 small amounts vs 1 large)
- • Embrace volume - thick hair creates impressive pompadours
Pro Technique: For thick hair, the "sectioning method" is essential: divide top into 3 sections (front, middle, crown). Apply product and style each section individually, then blend together. This ensures even distribution and prevents the "styled front, messy back" problem.
Fine/Thin Hair Styling
Challenges:
- • Shows scalp through hair easily
- • Gets weighed down by heavy products
- • Looks limp/lifeless without effort
- • Loses volume quickly throughout day
Solutions:
- • ALWAYS use volumizing pre-styler (non-negotiable)
- • Blow-dry with lift at roots - this is 70% of the battle
- • Use lightweight products (clays, not pomades)
- • Matte finish only (shine makes thin hair look thinner)
- • Style forward and upward, never flat or back
- • Refresh volume at lunch with dry shampoo at roots
Pro Technique: The "double root volume" trick for fine hair: After applying volumizing mousse, rough-dry hair forward for 90 seconds, then flip back and dry into final position. This creates "memory" at the roots that maintains lift all day, even when product settles.
5 Most Common Low Fade Styling Mistakes
Mistake #1: Applying Product to Dry Hair
Why it fails: Dry hair doesn't distribute product evenly - you get clumps, uneven hold, and wasted product. Your hair looks stiff and unnatural.
Correct approach: Apply product to damp hair (post-shower or lightly dampened) for textured styles. For slicked styles, apply to nearly-dry hair (95% dry) after blow-drying. Product spreads 3x more evenly on slightly damp hair.
Mistake #2: Using Too Much Product
Why it fails: Excess product makes hair look greasy, stiff, or "helmet-like." It also builds up over days, making hair feel heavy and dirty even after washing.
Correct approach: Start with a dime-sized amount (seriously, just a dime). You can always add more, but you can't remove excess without re-washing. Most men use 2-3x more product than necessary. Warm product thoroughly between palms before applying - this makes a little go much further.
Mistake #3: Skipping Heat Protection Before Blow-Drying
Why it fails: Daily blow-drying without protection causes cumulative damage - brittle, dry hair that won't hold styles. You won't notice for 2-3 months, then suddenly your hair looks terrible.
Correct approach: Apply heat protectant spray or cream EVERY time before blow-drying. This isn't optional. Even 2-3 minutes of heat daily adds up to significant damage over months. Quality heat protectants cost $12 and last 2-3 months.
Mistake #4: Blow-Drying in Final Style Direction Immediately
Why it fails: Hair dried in its natural fall direction has zero volume. You end up with flat, lifeless hair that requires massive amounts of product to create any shape.
Correct approach: First 50% of drying: blow-dry AGAINST natural direction and lift at roots. This creates volume and "memory." Final 50%: dry into final style direction. This technique alone doubles your volume without additional products.
Mistake #5: Washing Hair Every Day
Why it fails: Daily washing strips natural oils, causing your scalp to overproduce oil (making hair greasier faster) and removing the natural texture that helps products work. Your hair becomes dependent on daily washing.
Correct approach: Wash 2-3x per week maximum. Rinse with water daily, use dry shampoo on non-wash days if needed. Day 2-3 hair actually styles BETTER than fresh-washed hair - natural oils provide texture and hold that clean hair lacks. Adjust gradually: if washing daily now, go to every other day for 2 weeks, then every third day.
Professional Styling Tips from DIDA Barbers

Morning Efficiency Hacks
- •Set out products the night before - saves 60 seconds of searching
- •Style hair BEFORE getting dressed - avoids product on clothes
- •Use bathroom mirror for styling, bedroom mirror for final check (different lighting catches issues)
- •Keep travel-size products in gym bag for post-workout refreshes
- •Take photo of perfectly styled hair from barber - reference for daily attempts
Product Application Secrets
- •Warm clay/pomade between palms for 15-20 seconds - makes application 3x smoother
- •Apply product from back to front (not front to back) - prevents over-concentration at hairline
- •Use "prayer hands" method - rub hands together as if praying, then smooth over hair for even distribution
- •Save whatever's left on your palms for final touch-ups throughout the day
- •Layer products from lightest to heaviest (spray → cream → clay → pomade)
All-Day Maintenance
- •Midday refresh: dampen hands, run through hair, reshape - takes 20 seconds
- •Carry small comb in wallet for bathroom touch-ups
- •Avoid touching/running hands through hair - breaks down product faster
- •If hair falls flat by afternoon, spray roots with water + blow-dry 60 seconds for instant volume
- •Keep mini travel-size hairspray at desk for quick hold refresh
Cost-Saving Pro Moves
- •Buy larger product sizes - cost per ounce is 40-50% cheaper than small bottles
- •One quality product beats three mediocre products - invest in one great clay/pomade
- •Drugstore volumizing mousse performs identically to salon versions at 1/3 the price
- •Clean hair needs less product - proper washing technique saves product costs long-term
- •Invest in quality blow-dryer ($40-60) - cheap ones take 2x as long and cause more damage
Frequently Asked Questions
Related Low Fade Resources
Complete Low Fade Authority Guide
Master all aspects of the low fade haircut with our complete authority resource.
How to Ask for Low Fade
Learn precise communication techniques for requesting your perfect low fade.
Low Fade Styles Gallery
Explore 10+ low fade variations with visual examples and styling guides.
Low Fade Long Top Styling
Advanced styling techniques for long top low fade combinations.
Ready to Master Your Low Fade Styling?
Start with a professionally cut low fade from DIDA NYC Hair Studio Queens, then apply these expert styling techniques for barbershop-fresh results every day.
DIDA NYC Hair Studio | Expert Low Fade Haircuts in Queens, NYC